Timeline
The Timeline is the main interface to the service. This is where you can add, edit and manage your cameras, watch live video and review recorded events that are saved in the cloud. This Article will be focusing on the web aspect, for details on mobile please see this page.
Index
- Customize Your Interface
- Modify/Add/Remove Cameras
- Navigate Your Recorded Footage
- Download Your Recorded Footage
- Global Motion Detection
Web Interface Customization
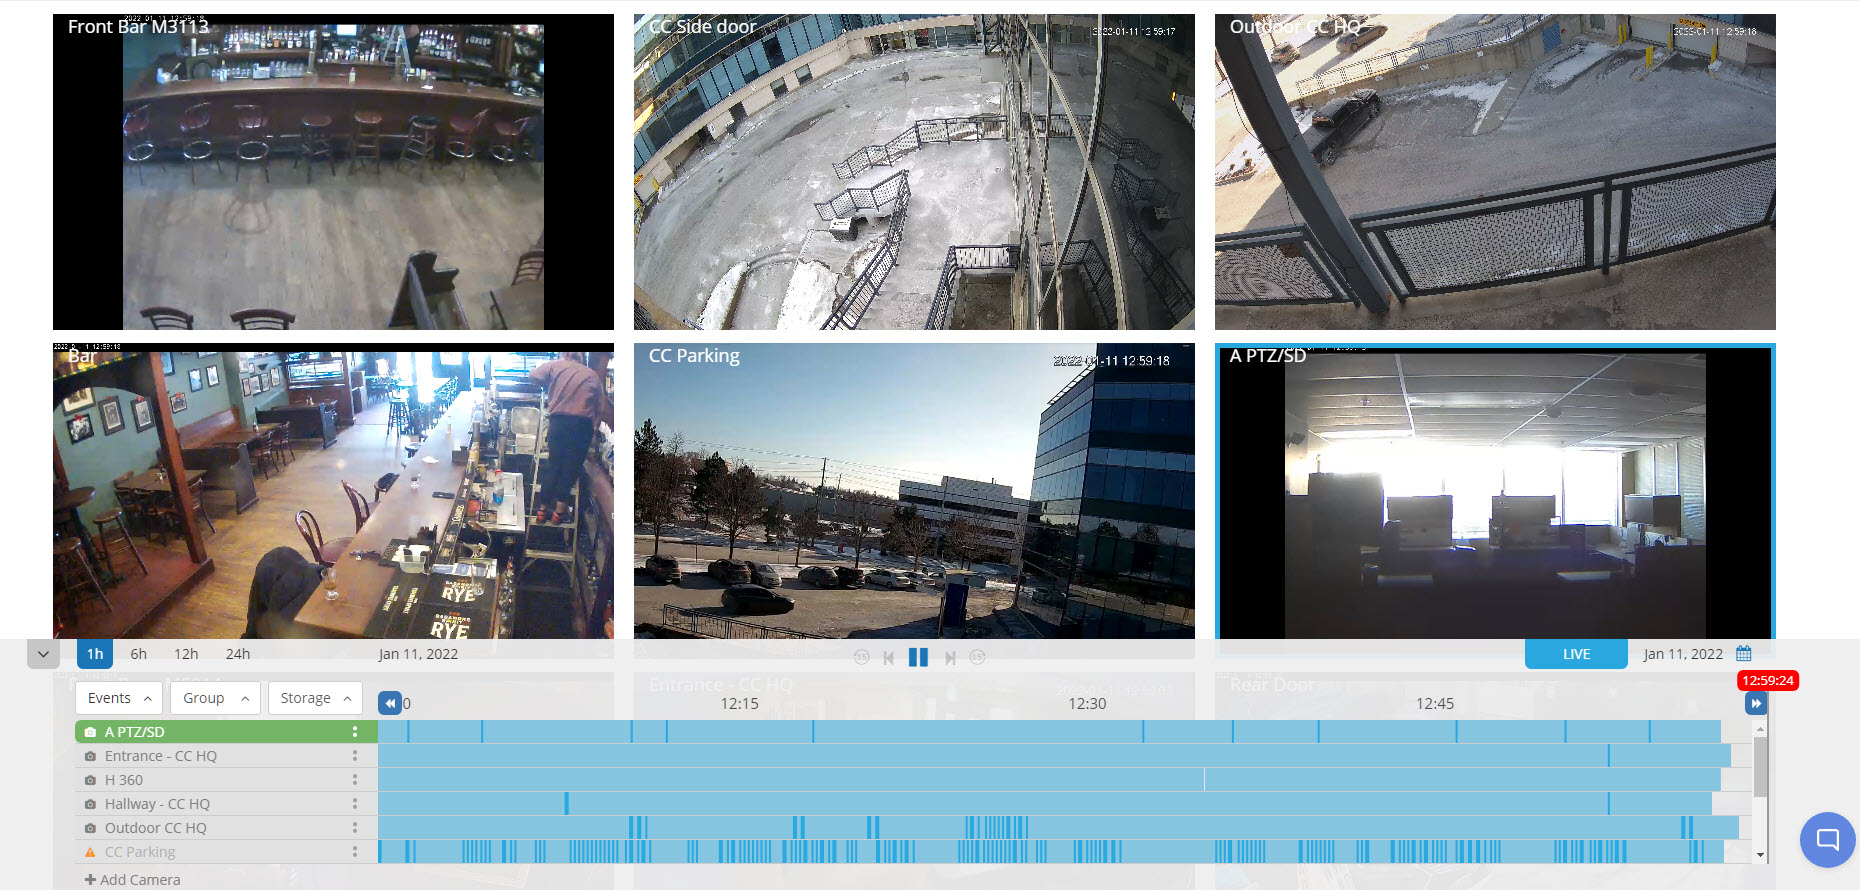
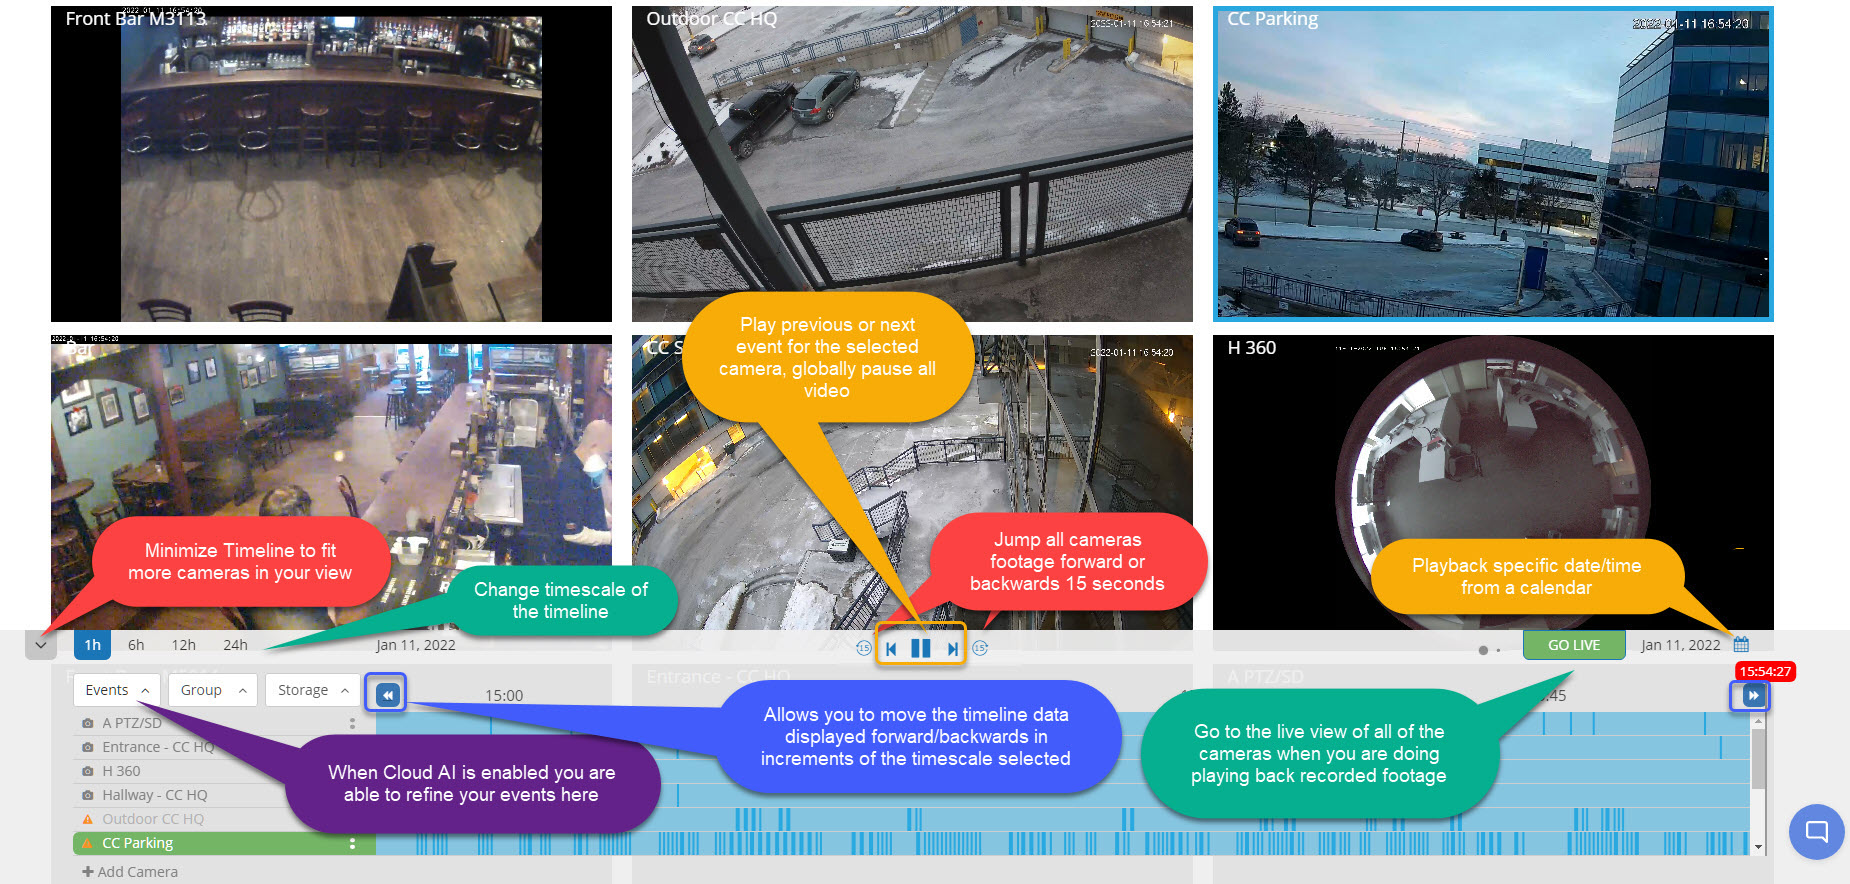
Once you log in to the web interface, by default a new view will be shown with all your cameras providing their live feeds. At the bottom of the view you will find the timeline where you will be able to navigate the recorded events of the cameras:
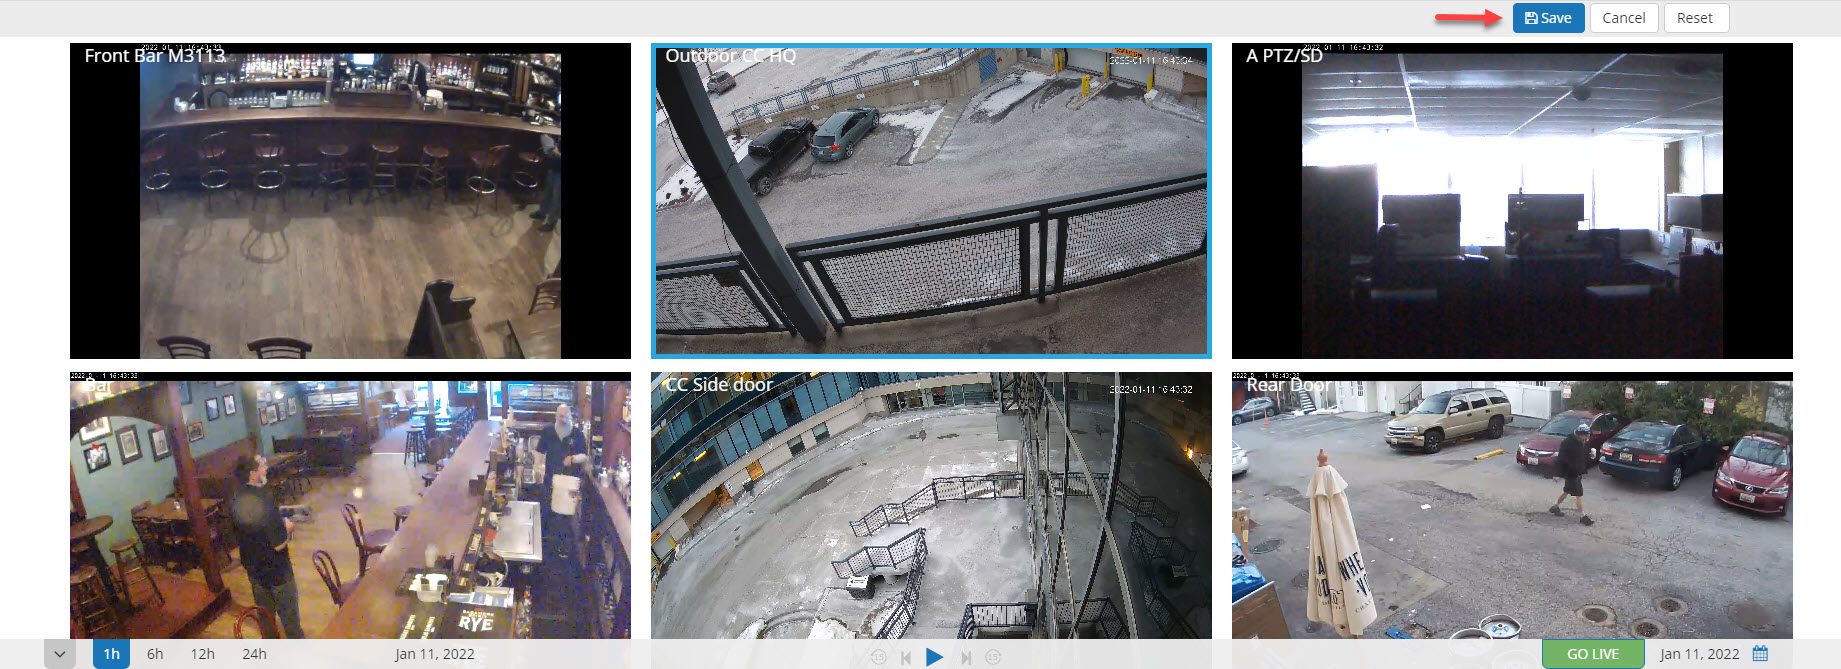
What if this is not the layout I want? No problem, the timeline supports a custom view where you can move windows around, resize them so you can create your own custom view. Now you can save that layout and next time you come to the timeline you have your own custom view!
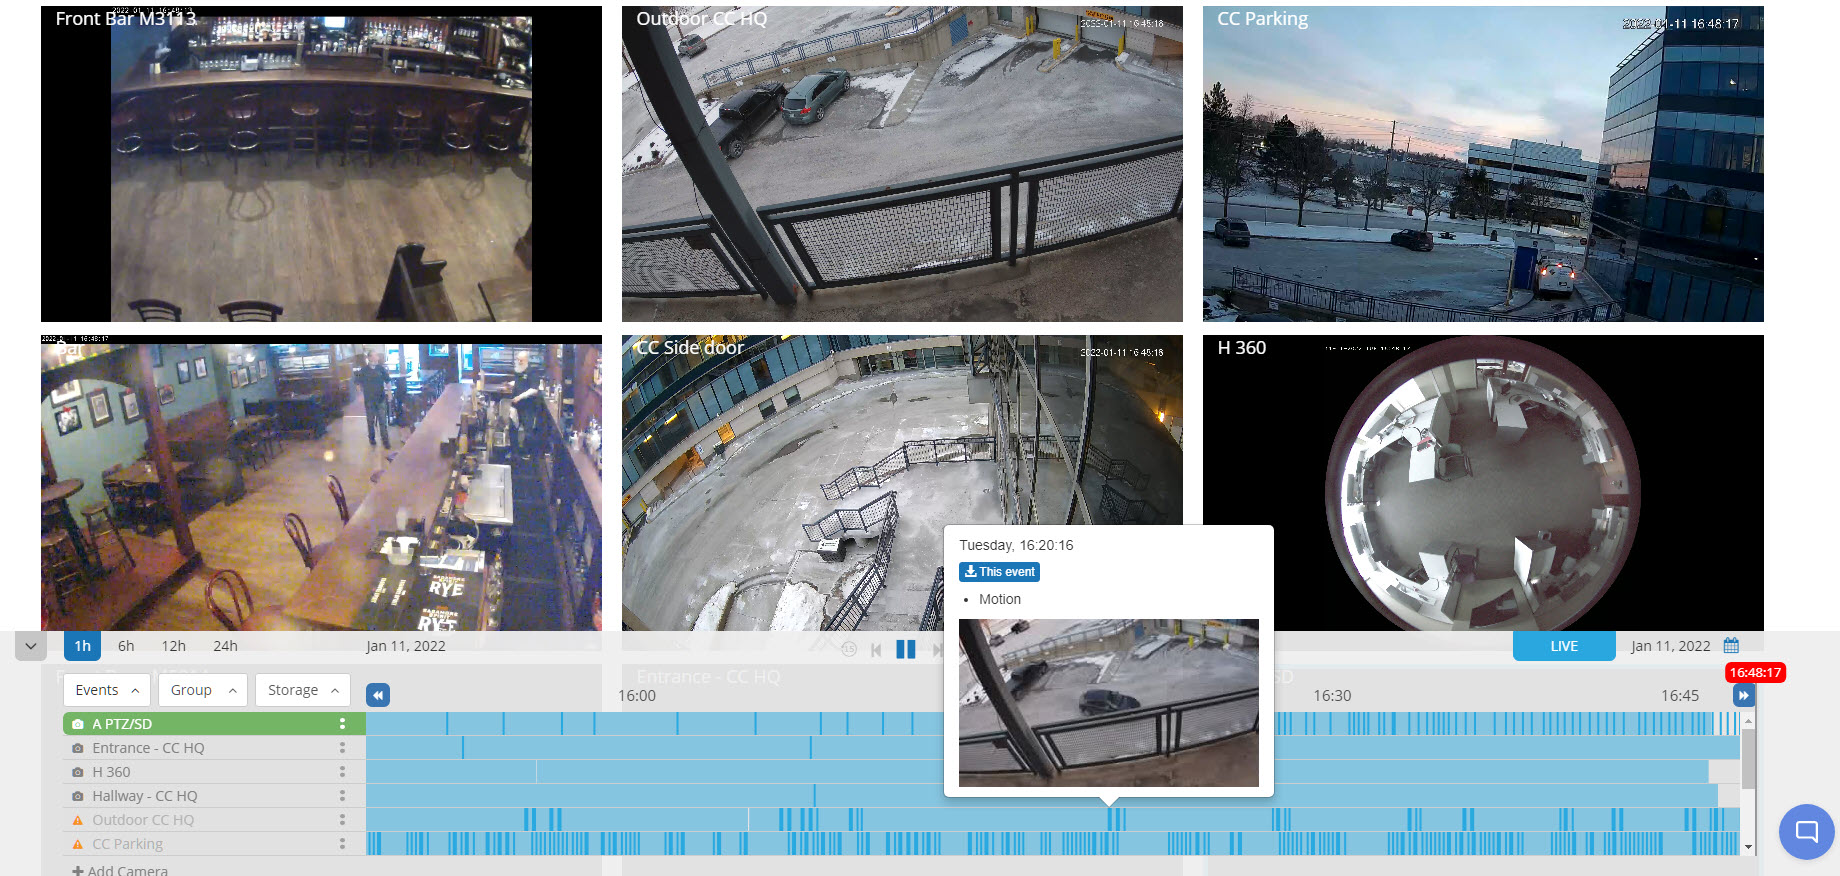
What about your cloud storage? All the blue lines you see in the camera list show you the motion recorded events. Click on any one event and it will play. If you are using continuous recording you will see light blue for continuously recorded footage and you will still have the dark blue lines for motion events, in this scenario you can click at any point on the timeline (even when there is no motion) and that footage will play back:

With Continuously recording cameras, any point in time you select will playback that same time on all cameras:

For Motion recording cameras, as you can see in the picture below I have 2 cameras with events almost at the same time. Since the cameras are positioned pretty close to one another I get to watch the video of the vehicle going through the frame at the same time. The other camera windows are just black screens since there are no events at that time.

Modify Camera Settings
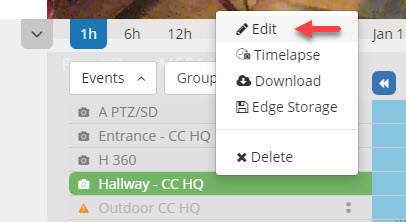
Your camera list contains the ability to add, edit, delete or any other camera specific option. Simply click the little arrow to the right of the camera name to bring up the options.
Each individual camera has it's own features. From the edit menu the options available will vary depending on the camera manufacturer, however they will all generally have options such as changing resolution and using the Advanced Video Settings, along with the ability to enable/disable notification.
There are additional options (again based on camera type and manufacturer) that can be seen in settings icon at the top right of the camera video stream when you hover over it with your mouse:
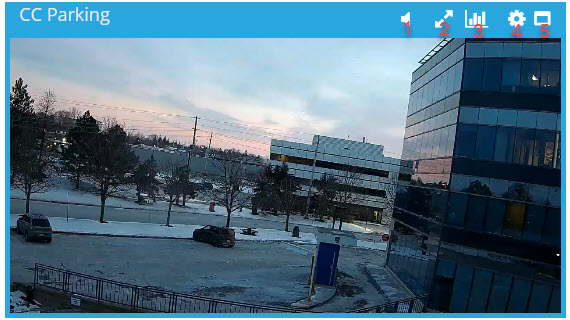
2. Full Screen
3. Motion Detection/Analytic Zones
4. Settings - camera specific controls such as Pan/Tilt, and Image settings.
5. Maximize/minimize - Double click on the title bar will have the same effect.
As mentioned earlier, clicking on your settings will show additional options such as Motion Detection, Image Appearance and Pan/Tilt.

When you select this option it opens up in a full screen.

In this example you can edit your motion detection area as well as threshold and sensitivity options and save that as the area of detection, some cameras will only have a sensitivity option with low/medium/high to select from. Click the x button to close this window and go back to your multi-view.
Of course you have all the filtering at your disposal along with playback controls right in the camera list as well:
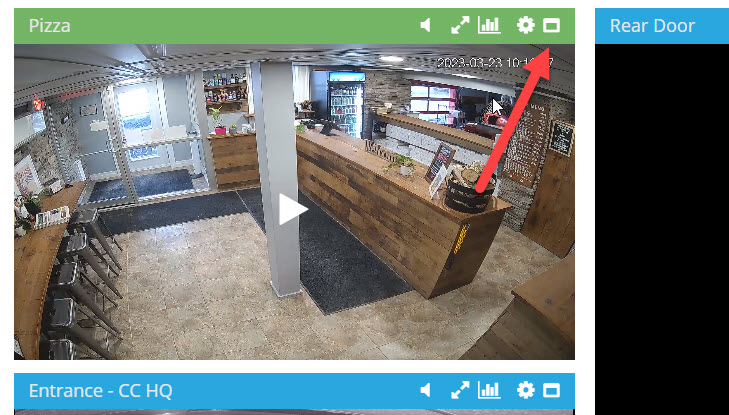
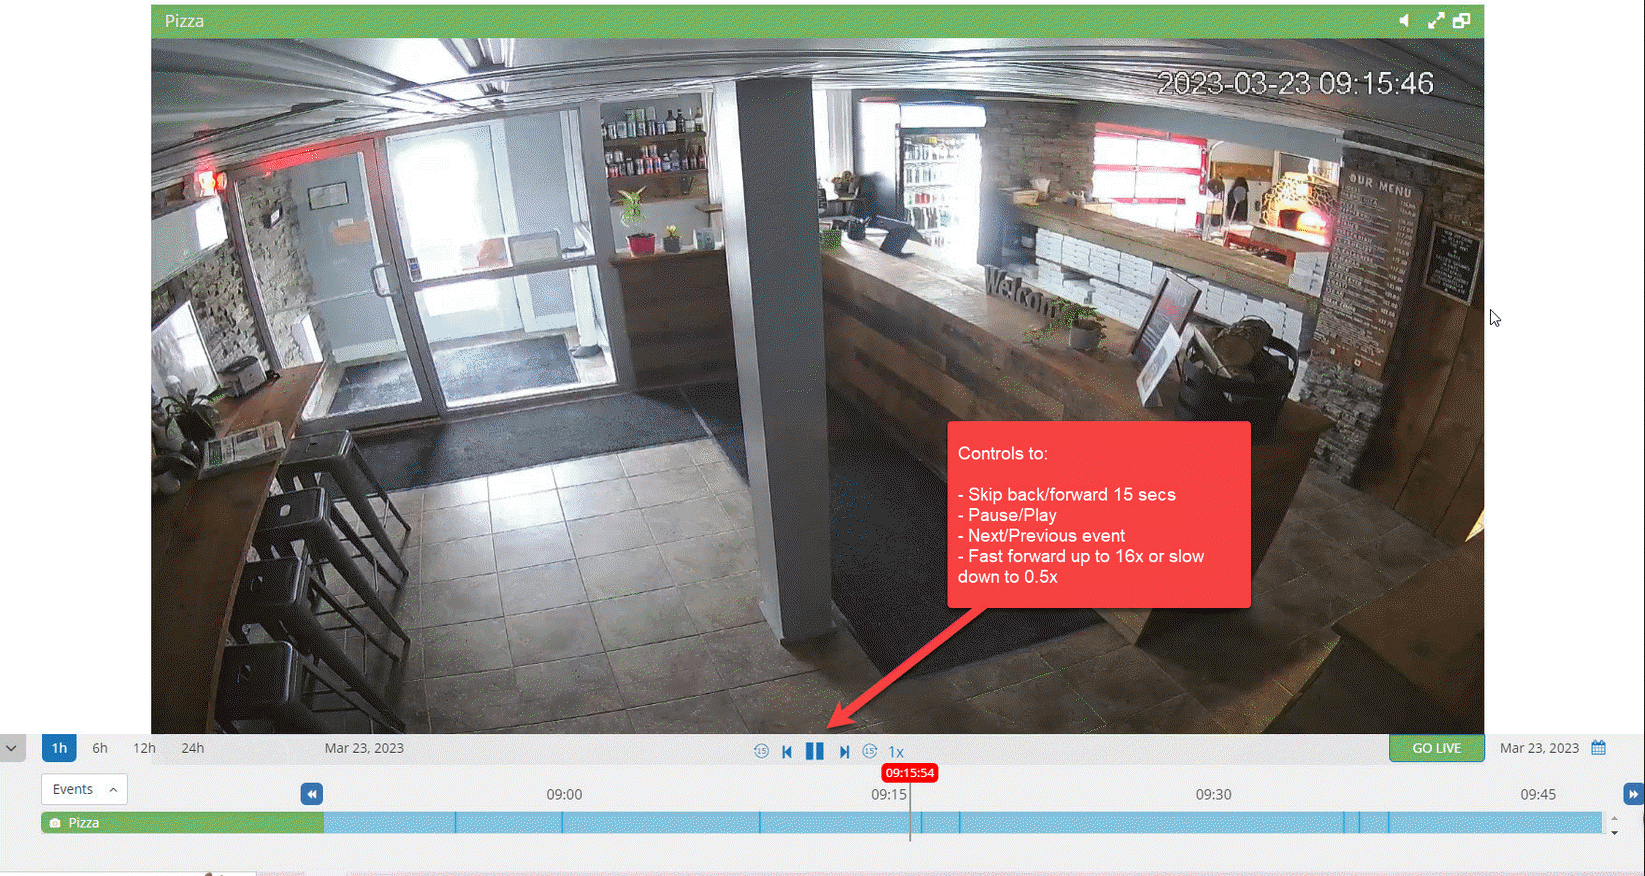
If you double click on the player title bar or click on the square icon you go into “video review” mode, this will provide you a single camera view with the same functionality as the main timeline along with the addition of fast forward/slow down (up to 16x speed and 0.5 speed) playback:
Download Your Recording Footage
In addition to the download option in the camera window shown above, when you select the drop-down menu you will find another Download option which lets you select up to an hour range. You will also see a Timelapse option:

Global Motion Detection On/Off Option
There is an option from the main drop-down menu called "Turn Cameras Off" or "Turn Cameras On". This will disable recording and motion notifications for all cameras:
