There are a couple of ways to setup your Hikvision camera:
- Auto Setup - completely automated setup procedure (highly recommended)
- Manual Setup - add the settings to your camera individually
Auto Setup
Before starting, make sure that you've port-forwarded your camera. If you're unsure how to start the port-forwarding process, take a look at our guide for some guidance.
Step #1. Start the "Add Camera" Wizard

Click on "Add Camera", select "Hikvision". Name your camera whatever you'd like.

Once you click on next, you'll have to add in your camera's username, password, IP address, RTSP port, and HTTP port. This means your RTSP & HTTP ports need to be forwarded on your router.

Click on Next.
This is where you can also change whether or not you'd like notifications, and the sensitivity of your camera's motion detection. Once you're done, click on "Finish".

That's it! Verify you are getting a live view and that motion events are coming in when triggered.
Manual Setup
Don't follow this guide! Use the automated setup. There is no need to manually setup your camera.
Step #1. Setup the Camera
First setup the camera as a Hikvision. Choose a name for your camera and turn Off "Auto Setup".
Before you head over to the Hikvision camera interface, make sure you’ve taken note of your FTP Credentials. You can find them on the cameras page here:

Tip: When we we first pop-up the dialogue to enter your FTP Credentials, we say ftp.{Website}.com is what you should use, but that doesn’t always work for Hikvision Cameras. If it doesn't you can enter this IP: 54.221.201.14
Step #2: Hikvision FTP Setup
Now go to the Hikvision Camera Interface and click on the “Configuration” tab, then under “Advanced Configuration” click on “Network”. Now click on the FTP tab.

This is where your FTP credentials are required. Keep in mind that the interface as of now doesn’t allow you to copy and paste the passwords in, so you’ll have to manually enter them both times.
Make sure the “Upload Picture” checkbox at the bottom is checked. Click on “test”, if it’s successful it means that you’ve configured with FTP correctly.
Step #3: Hikvision Interface Event and Storage Configuration
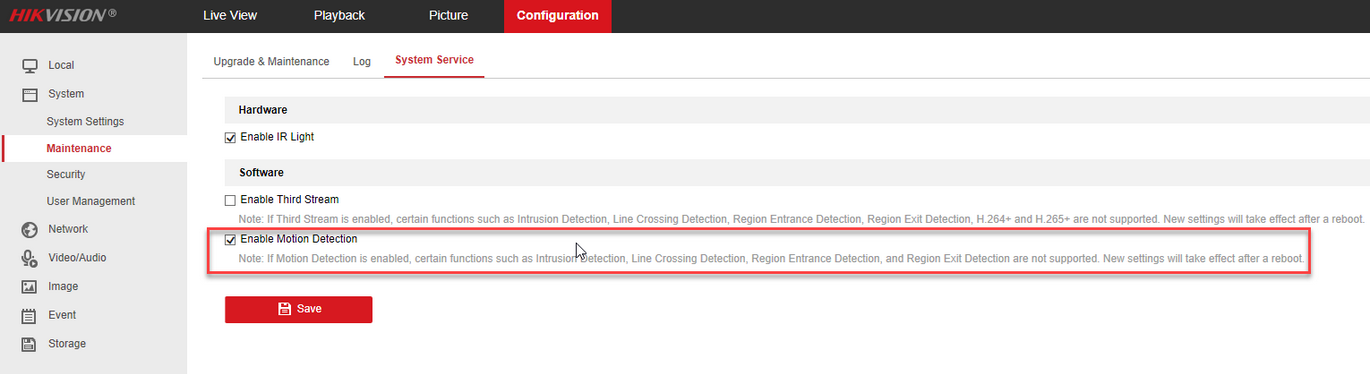
Once again under “Advanced Configuration”, click on “Events”. Make sure your Motion Detection is enabled and that you have a Motion Detection Area selected.
Scroll down, and under Linkage Method make sure “Upload to FTP” is checked.


The Last Step is to jump over to “Storage”, and click on the Snapshot tab. Scroll down and check on the “Enable Event-Triggered Snapshot” checkbox.

Now you’re ready to use cloud storage with your Hikvision camera. Now when there’s motion in front of the camera, you’ll be able to see what kind of motion activity was captured by the device.
Troubleshooting
Black creen? Make sure the camera is using the h.264 codec, h.265 is currently not widely supported in web browsers.
No motion events? Newer cameras/firmware have an additional option for motion dections, make sure the following is enabled: